Showing posts with label butterfly punch. Show all posts

Thursday, 10 April 2014

Todays Card Class in Kuranda

Hey, this is what we did at my card class this morning...
Lattice cards two ways, the first one was inspired by Valita go see Valita here-

http://valitasfreshfolds.blogspot.com.au/2010/10/more-lattice-card-fronts.html


This is what I did on the inside


AND the second card was created by myself, it's a lazy way of doing Lattice. I used the Lattice Bigz die from Stampin' Up! and also the Oval Framelits; I  then added Boho Fowers and  Rhinestones.

We all had fun at the class. Thanks Ladies for coming along and sharing the morning with me.


If you have questions, or want to say hello, just scroll down and type them in the "comments". I love hearing your thoughts. Also remember when you hover over the pictures, the 'Pin it' sign will come up for you to pin to your board.

Thursday, 27 March 2014

Congratulations card

On this card I used the DSP the opposite way to the card I made for the Paper Craft Crew Challenge...
which background do you prefer? the paint lines going horizontal or vertical??

Below is This Card and to the right is the card I made for the PCC Challenge.

Sunday, 23 March 2014

My take of the Paper Craft Crew Challenge # 85

I've used some of  my new favourite colours the In Colours for 2013-2015 collection. Pastasio Pudding card with Sweet Sorbet DSP from the Sale a Bration Catty,  the inks are Pistachio Pudding and Crisp Cantaloupe on the flower [Love & Sympathy stamp set], and Costal Cabana for the Butterflies [Papillon Potpourri stamp set]. The Costal Cabana looks bluish in this photo but it is really green! 

PCCCS085

I just realised I meant to put the DSP the other way!!! so that the paint strokes would have been going vertical instead of horizontal !! opps  :)

Friday, 17 January 2014

The LAST Four cards 4 of 4

And here are the LAST three in this series.
The first one on the Far Left has had soft sponging in two colours, softly done to resemble the sky, clouds etc. Then from DSP I punched out Butterflies and arranged them, drew the Feelers and drew around a punched our flower shape, three times, then ruled two fine lines around the whole thing.

The Middle card has DSP with two pieces under it, the top is yellow and bottom blue with same card punched out as flowers and then a circle punch of the flowers that are on the DSP to place in the centers. 

The far right card is the same only it is not backed with card of different colours. simply placed onto the card, the same effect of small scallops with circles of the tiny flower from the DSP is placed in the center.                                                                                                                                                                              


I hope you  have a great weekend.

Remember,

Stay Calm 
and Create

hugs
Colleen                                                                     


Monday, 13 January 2014

Thank you Cards 2 of 4

I wanted to post on Friday, however we went on a Family day out to the tablelands. We arrived home late so I didn't get to the computer. Saturday I spent with my sisters, daughter and niece. We had a girls weekend away. Everything was going great until our plans went pear shape and so we had to compromise on the venue. 

This meant we didn't have as much time away as we first planned, but the good news is we had so much fun. Two of my sisters bought their foot spas,one sister bought her manicure bag, there were word games to play and  a video to watch on how to do face exercises to define our facial features.   We all went out to dinner with our feet feeling refreshed and our nails looking great.  I hope your weekend was great as well. 

Now, are you ready for the next lot of Thank you cards in this series?


The top Left hand card was created using the  mosaic    stamp set with crushed curry and midnight muse.  I've used the decorative  punch for the label in this card and the one on the top right. there is daubing around the edges. the one on the right is much softer and this is created by using a dauber that has NOT been inked, but has ink in it already, so the effect is much softer than the one on the left ... which has just been tapped into the ink pad and so the dauber sponge is full of ink. I would have daubed the label on the left first then when I'd finished that card use the same dauber without re-inking and daubed the label on the right.

I fussy cut out the butterfly and flowers on the top Right card, then layered them over a piece of white card that has been put in an embossing folder and run through the Big Shot Machine.

All four cards share the same colour scheme. 

The bottom left card has a piece of midnight muse card that has been punched with the scallop border punch on one edge, then layered on top of this are 3 strips of DSP. The images are from the ....stamp set. I used the modern label punch for this greeting.  

The last card, bottom right, has DSP   that has been cut and placed in opposite corners. It was a square, so when the pieces were placed into the opposite corners, there was a space left in between and this is where I stamped off the butterfly from the  ... stamp set. as you can see I used my pens to colour the image; starting with the lightest colour, and then the darker one. I also punched out a butterfly in the lower right corner.

till next time 
happy creating
Colleen

Wednesday, 8 January 2014

Thank you cards 1 of 4

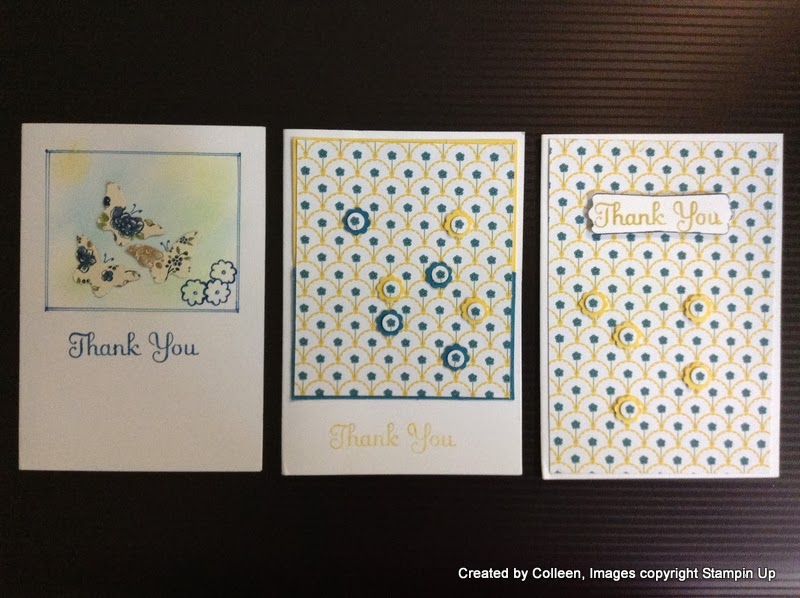
I wanted to thank the girls in my team for their support so I made these cards. I have them in sets of four.  I used the 'Note Cards & Envelopes' from the Stampin' Up! Catalogue, page 162. Because they are 12.7 x 8.9 cm for the card size and fit into 13 x 9.2 cm envelop they are great to use for a quick note of thanks, or anything really. 

The top LEFT card shows a punch out butterfly on the blue triangle, then three punched from DSP [Designer Series Paper] and two more from co-ordinating card stock. I drew dots and dashes in the diagonal corner. 

Next to this one is the Red DSP piece with stamped images of Butterfly and flower, the flower has three colours on it, this is done by colouring the image with the Stampin' Write Markers, starting with the lightest colour, and then the next, till the darkest. The centers of the flowers are yellow, then I coloured the leaf and stem, green and finally the flowers are red to match the paper. 

Can you see the images of the butterfly under the cut-out one?  They are the same red as the paper and give a hint of more. The photo isn't really that clear I suppose to show them.


The bottom left card has three butterflies and are coloured with pens as I explained above. The dots are actually punched out flowers from the same DSP as the top left card, see the three patterned butterflies?  I used this DSP to punch out just the small blue flowers. I could have added ribbon to he right, or even created a border of dots and dashes around the right edge, notice in the last card how I created a border of dots and dashes around the card, I could have done this, from the green piece of DSP to the edge and down, then along the bottom, leaving the same size border as the other side.

The last card in this series has some stamped images straight onto the card and then some that have been stamped onto another piece and 'fussy' cut.  Fussy Cutting is following the line of the image. I like to  leave a millimeter around the image, incase I get too close and chop into it.  Two of the cut out images have been popped up and one is stuck onto the card in line with the stamped [onto the card] ones. 

I'll have more of this series next time, so stay tuned.

I love what I do and share what I love,
till next time
happy creating.
Colleen


Friday, 3 January 2014

Scrap Pages I created for a class

Two pages, the first one is my favourite, however since we are going to be using a  Stampin' Up! Simply Scrappin' Kit, "Afternoon Daydream",  I thought I'd better use all the elements from the pack for the class to see how quick it is to create from the kit; have a look below for the page made from the kit, with only photos and some bling added.

 Ok, so the above page has a patterned butterfly and three plain white ones, some dots and strips and the Journaling space from the kit, the rest is what I have punched or adhered using the papers from the kit. The 'bling' is not part of the kit so I've added that as extras. I've daubed most of the flowers, you can tell the tiny ones are not daubed, and of course the Butterflies have been daubed, using the same colour as the paper. O nearly forgot, since the slide in the photo [above], was closer to Daffodil Delight, I used that instead of More Mustard which is the colour in the kit, and is represented in the page below.

I'm sorry these kits are from last years catalogue, I'm a bit slow using my SU stash, since I only have one scrap class per month, my choice would be to have at least two even three, or one per week. It seems to me that scrap pages daunt some folk, I can't understand why, maybe the size?? 12 x 12 ins; in my eyes they are simply a LARGE card....the techniques are EXACTLY the same.

Anyway each to their own, this bottom page has All from the kit except the photos and Rhinestones!

Monday, 4 March 2013

Stripes

I made this with some of the FREE Sale a bration items, the stamp set - 'Bloomin' Marvelous' has the butterflies, the ribbon is Island Indigo and also from the Sale a Bration Flyer, the pack has three spools of ribbon and a packet of buttons; the words are from "Bring on the Cake" set.

The tag has been cut with the Big Shot and one of the framelets from the 'Hearts a Flutter' set and co ordinates with the 'Hearts a Flutter' Stamp Set. The stamp set and Framlets can be bought separately but there is also the option to buy them as a  bundle  with a 15% saving, nice.... they can be found on page 11 in the "Making a difference for 25 Years" Stampin' Up! Seasonal Catalogue.

The tag has three shapes, which have been layered;  it's quite effective having the DSP patterns stripe going a different way to the piece on the card . The DSP is in  Island Indigo, co ordinating with the ribbon. I used Sarah Sand for  the base card.

The butterflies have been punched out with the new Bitty Butterfly punch, find it on page 13 of  the Seasonal Catty.

Thanks for stopping by

enjoy your journey

Colleen


Saturday, 12 January 2013

Some of my Creations


Here are some of the projects I have made in the past few months, but haven't been able to post...I hope you enjoy what you see and please leave me a note to say you've been here to see what I've done.

It is always nice to have feedback.
thank you for your time to visit, come back soon
ScrapNcards with
Colleen

 Above is the card I made for our Office manager when she resigned and below are the pockets for the gift vouchers, one from the boys in our workshop and the other from Us.